Welcome back to remodel the DMV! If you missed episode 2, you can check it out here.
In episode 3 I’ll walk you through the progress and we’ll see the spaces begin to take shape. The new powder room is starting to look like a powder room, cabinet installation has started in the new, relocated kitchen, and we look at some details around the hood and range.
Check back soon for the next DocuBlog. And continue reading below if you’re interested in more details (and Beyonce/Justin Timberlake references). Thanks!!
– – – – – – – – – – – – – – – – – – – – – – – – – – – – – – – – – – – – – – – – – – – – – – – – – – – – – – – – – – –
The deep dive
We spent some time in this episode looking at a few key details of the project. Let’s spend a few paragraphs here taking a closer look at two of them:
Powder room flooring
Typically, the most used bathroom in your house is the powder room. And typically, it has the biggest opportunity to be a stand alone design element. Consider the powder room the Justin Timberlake of first floor spaces. Sure, it can work as part of the group, but in reality, it’s much better by itself.
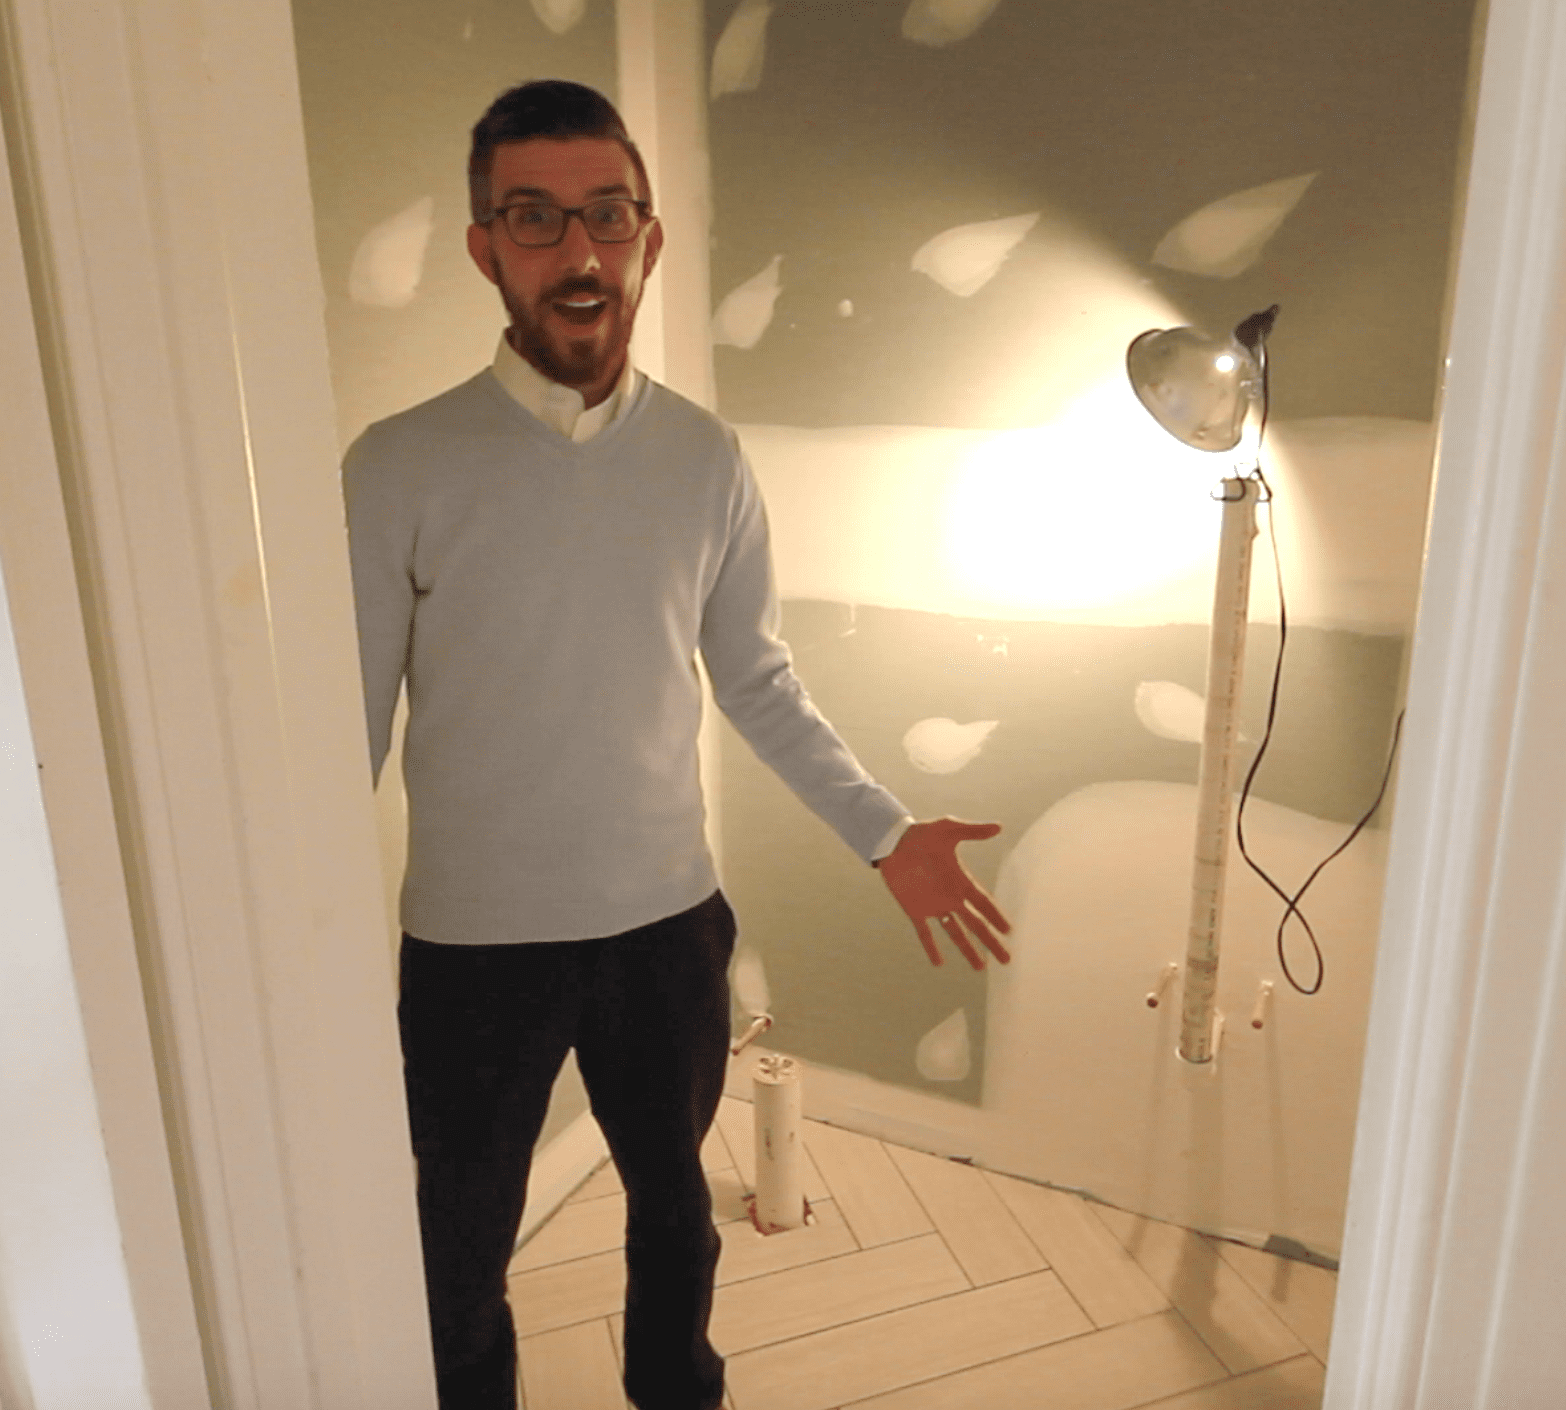
Since the powder room is relatively small and closed off, there really isn’t a need to make it tie into exactly what’s happening on the rest of the floor. Sure, it should probably be somewhat cohesive, but have some fun – this is your opportunity to do something different. I love to pick one thing in a powder room – the floor, an accent wall, the lighting, the vanity, etc – and really do something special with it. Here, we did that on the floor. Just look how happy I am to talk about it:
We took a linear porcelain tile and installed it in a herringbone pattern. It brings a lot of great texture and pattern to the floor.
Consider yourself Red Lobster after Beyonce dropped Formation, because you’re in for a delightful surprise. There’s actually a bonus fun design element in the powder room – a hammered metal sink. You’ll see it in the final episode of the season. Stay tuned.
Flush hood
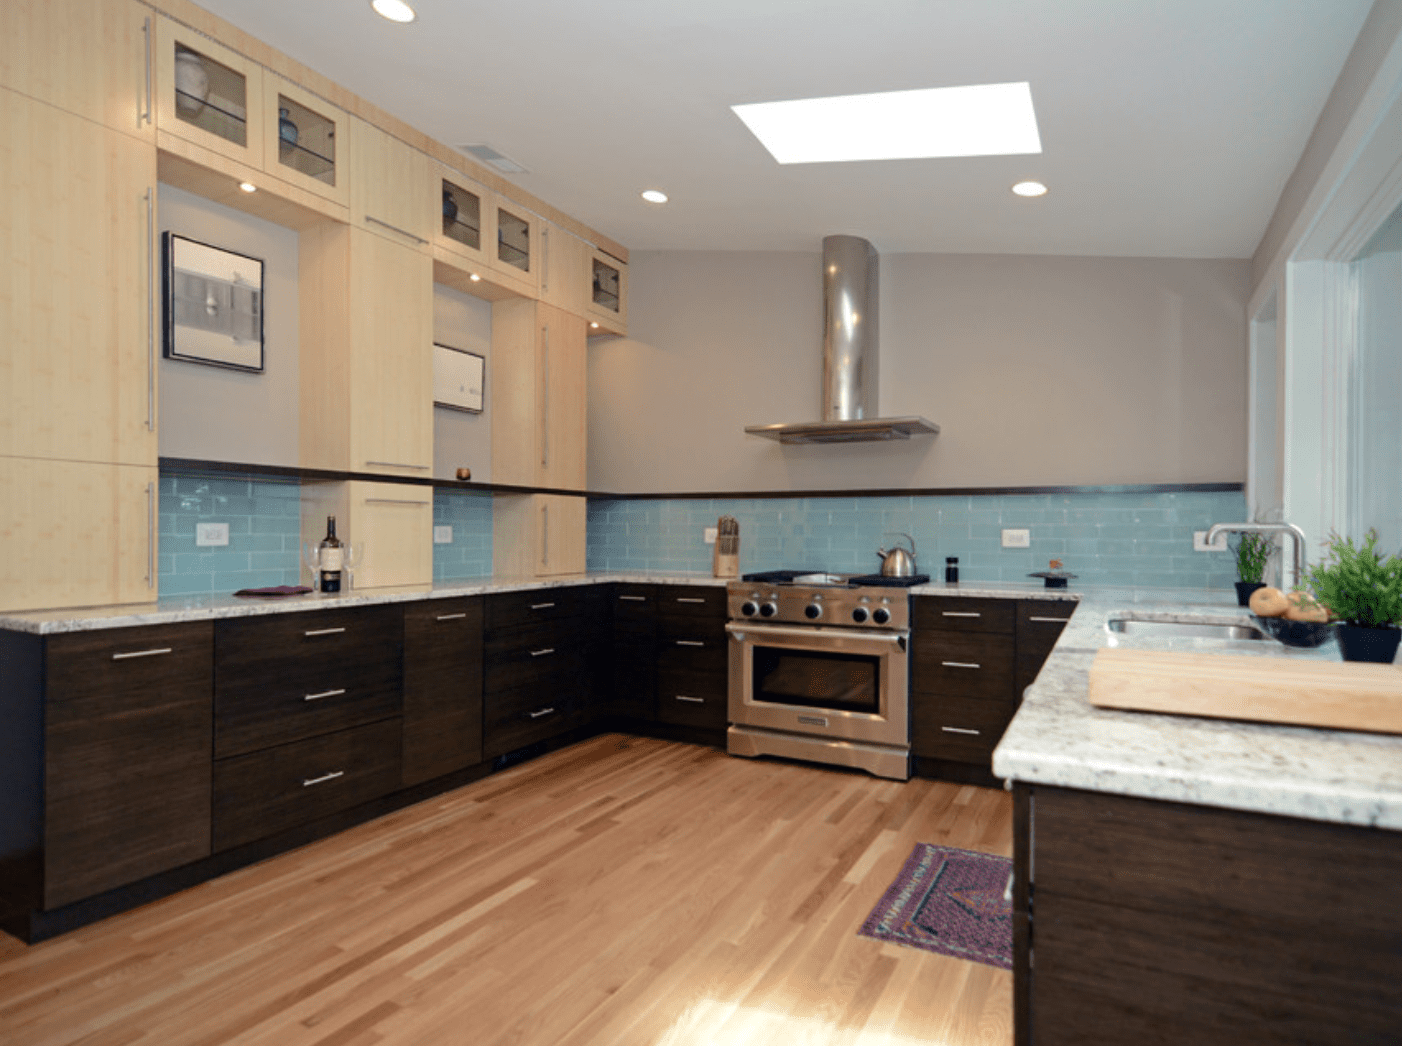
Our client really wanted the backsplash above the range to be a focal point of the kitchen. The more we worked through what that meant, the more we realized that a typical range hood wasn’t going to work here. For reference, here is a kitchen I designed with a “typical” hood:
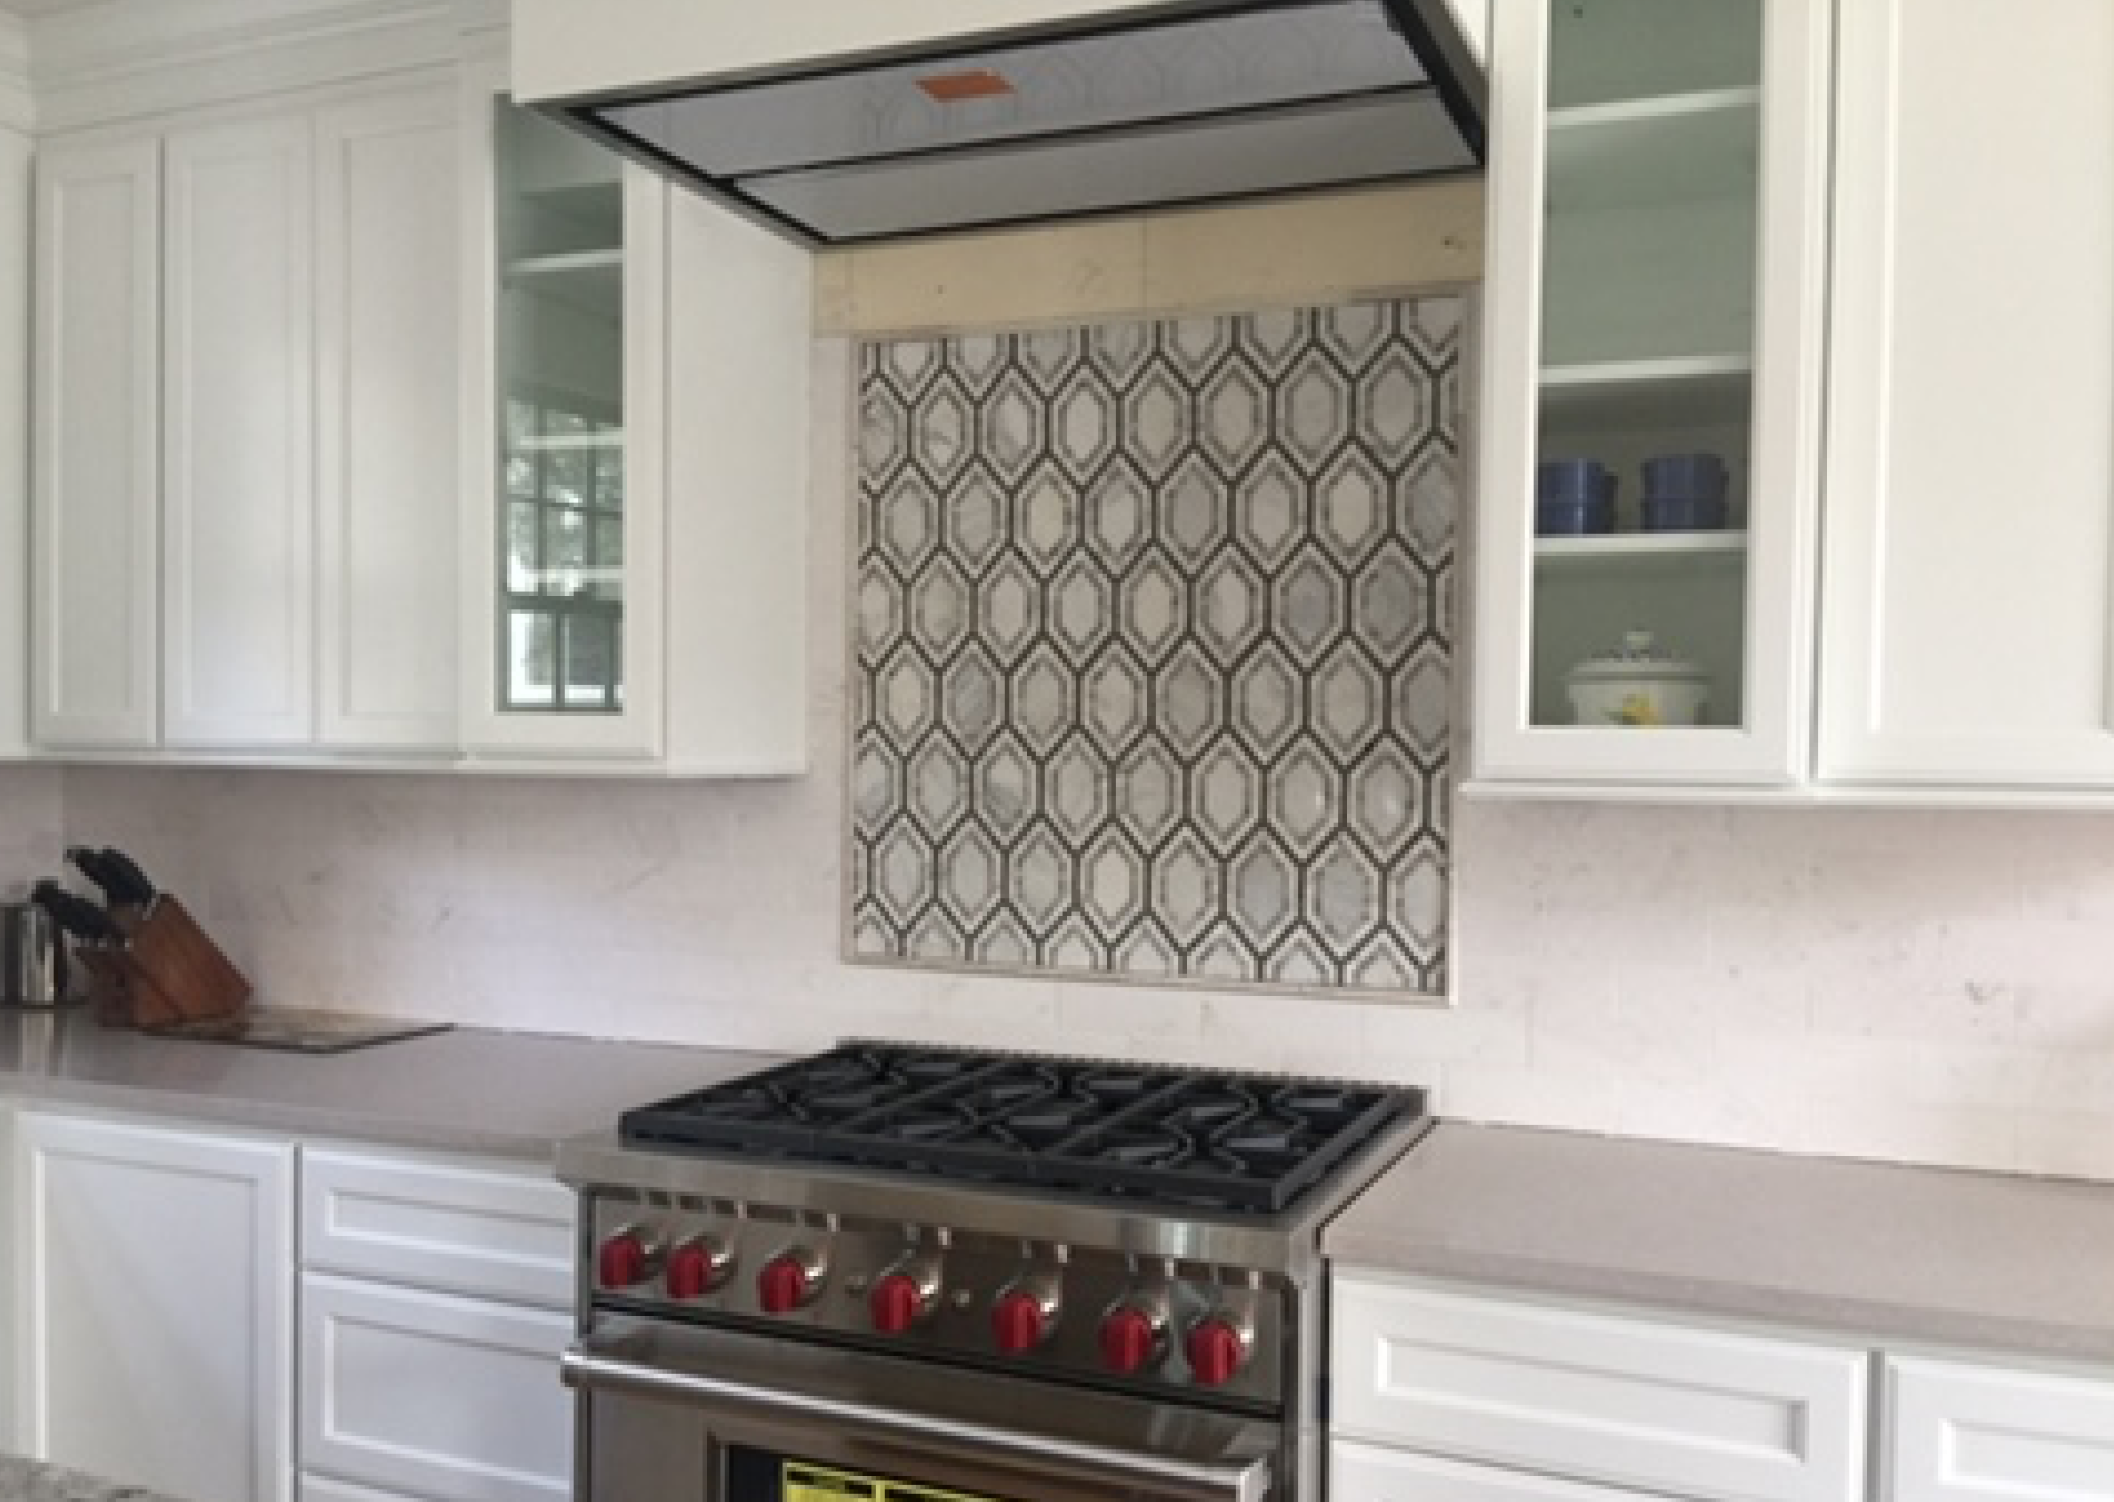
There’s certainly nothing wrong with this hood – it works quite well within the kitchen design. But in a kitchen where you really want the tile to be the star, something hanging down from the ceiling would detract from that. What we ended up doing was selecting a flush mount hood, meaning it can essentially sit flush with the ceiling without anything hanging down. The thing to keep in mind with the hood (any hood, really) is that there is a 4” round duct that exhausts the air from your kitchen to outside. Sometimes that duct can be run in your ceiling. In this particular kitchen though, there wasn’t room to put the duct in the ceiling, so what we ended up doing was building a cavity behind the wall cabinets to hide it (three cheers for custom cabinets!!). That meant that the flush hood wasn’t flush with the ceiling, but rather with the cabinetry that we built to hide the duct. Still a very sleek look. Check it out:
And wowzer, welcome to Focal Point City – Population, Range Backsplash. Thank you, flush hood, for not needing the spotlight.
Bye for now,
TJ


